You don’t have to produce music or do voice-over work to fully appreciate a soundproofed environment. Anyone that has lived in an apartment or multifamily can tell you that it’s not always the quietest place for peace and serenity. And if you can hear your neighbors, there’s a strong chance they can hear you too.
Perhaps you’re sympathetic to your downstairs neighbor. Maybe you simply don’t want them commenting in detail on a private conversation you had the night before. Whatever the case may be, in this article, we’ll discuss 6 of the best steps you can take to soundproof your apartment.
Soundproofing your floor can be an effective way to produce a barrier for noises both inside and out. We will look at several methods and products to accomplish the task without losing your security deposit or leaving you subject to legal action.
A Word of Warning
While some approaches are significantly less invasive than others, you will want to confirm with your landlord before making any changes to your apartment. Rental agreements in the lease often restrict a tenant from making structural changes.
If you make structural changes without consulting your landlord first, you may be subject to a lawsuit or punitive action. Also, you may lose your security deposit in the process.
However, you may even be able to get your landlord to pay for some of the changes. Although it’s unlikely, a landlord might be willing to help soundproof the space for future tenants and increase the apartment’s value.
1. Interlocking Floor Mats
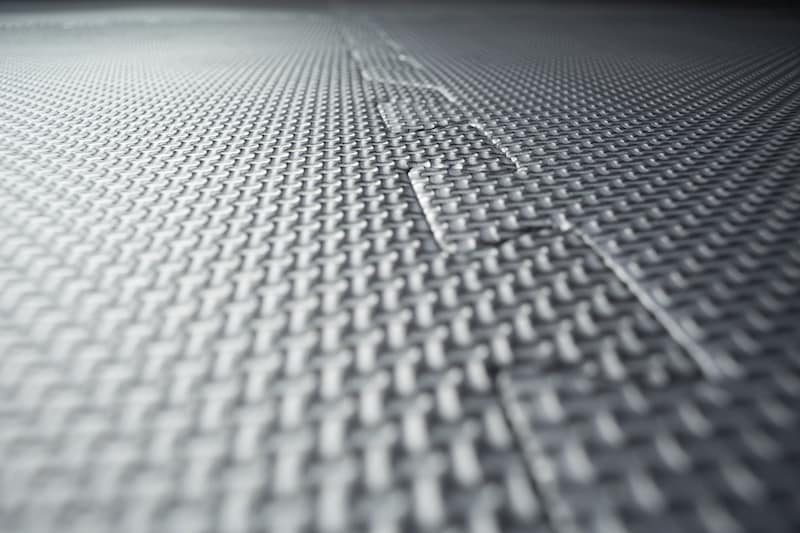
The first method is arguably the easiest and most cost-effective. Interlocking floor mats not only possess sound dampening properties but are used to provide firm cushioning in gym settings, daycares, and nurseries.
Thankfully, these mats come in various designs and are produced with several materials. The tiles are often foam, cork, rubber, or some combination of the three.
Much like a massive jigsaw puzzle, the irregularly cut edges allow these interlocking mats to fit together and hold in place. Installation shouldn’t be too much of a hassle to DIY. Starting from one corner of the room, lay and position them, connecting them along the ground. Continue in rows until the entire floor is covered.
We like these ones here that are fairly inexpensive and come in a variety of different thicknesses for added soundproofing.

- Protective workout flooring: Durable, non-skid textured tiles protect floors while...
- Easy assembly: Lightweight puzzle pieces connect quickly and easily, and can be...
- Versatile: The water-and noise-resistant design is easy-to-clean, great for use in...
The added density will serve to muffle and reduce the transfer of noise between floors. It should be easy on your feet and, depending on composition, will even serve as thermal insulation.
This can maintain whatever comfortable atmosphere you have achieved and reduce the cost to sustain it.
2. Acoustic Underlayment
If the above method didn’t sufficiently block out sound, you could also use sound-absorbing acoustic underlayment as well.
If you have hardwood, vinyl, or concrete floors, installing acoustic underlayment is fairly straightforward, barring any restrictions you have as a renter.
Simply unroll the underlayment material starting at one edge of the molding till you reach the next. Cut off the excess fabric and fasten it with nails or staples.
Something like this here should do the job.

- First Step Premium 3-in-1 Underlayment, 100 sq. ft.Roll is designed for use under...
- This product is meant for use on concrete slabs and wood subfloors that are on or...
- It is effective for sound reduction, comfort and even helps level minor sub-floor...
Some products also use an adhesive or are free-floating. Cover the remainder of the exposed floor in the same way, and the acoustic underlayment should adequately soundproof your apartment.
3. Laydown Carpet and Underlay
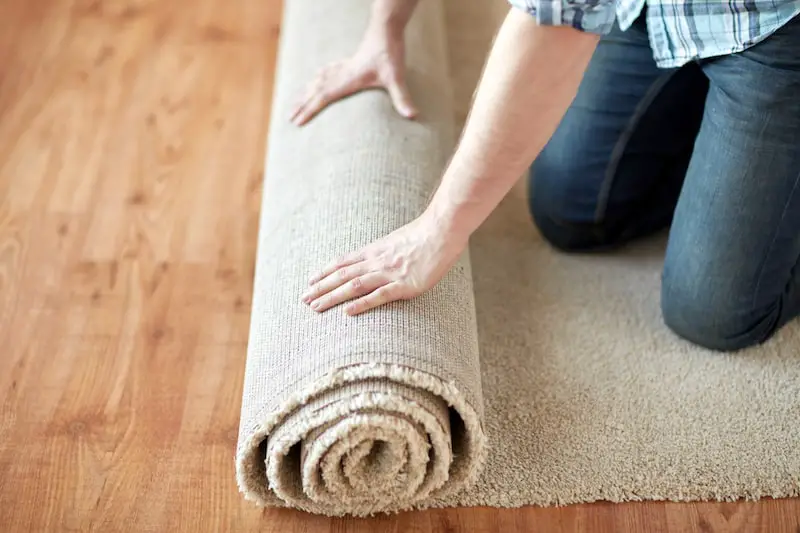
If for whatever reason, the interlocking mats did not appeal to you and you have your landlord’s permission, a traditional carpet with underlay is an excellent option as well.
This one can be a little more labor-intensive, so it helps to have a friend to help with the heavier materials. You can rent the tools you need from a hardware store, and there’s a potential your landlord will be willing to reimburse you for the installation.
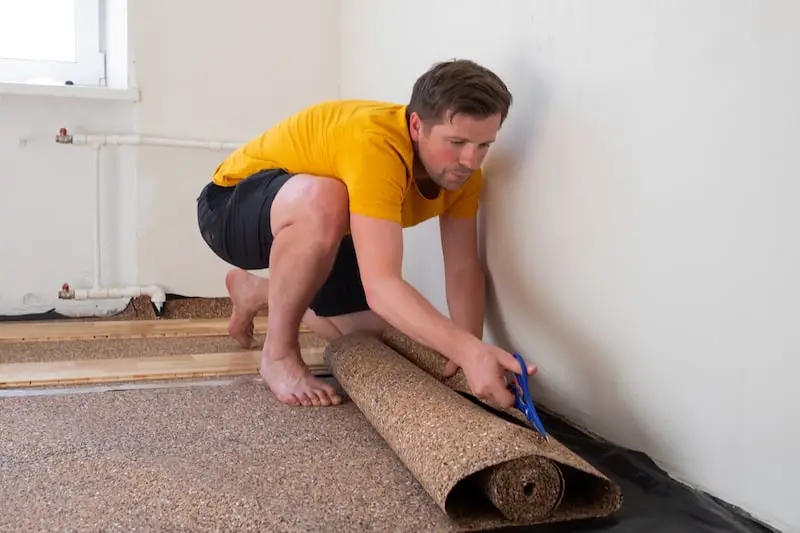
Carpet Underlay, also known as carpet padding is made from several substances like foam or rubber. It’s important you choose one that is durable and provides a grip to work with.
This will make the installation process easier and will prevent your carpet from moving about. A better quality pad offers a longer carpet life, a more comfortable surface, and better sound and energy insulation.
How to Install Carpeting and Padding
The steps involved with carpeting are more complex, so we’ve broken it down for you below.
As a note, if the room is wider than 15ft, you will need a seam. All seams will be visible, but proper installation will minimize how apparent they are.
Step 1
Cut tack strips to fit the room’s perimeter. Wrap around the doorframe but be sure not to put them across openings. Nail in strips with tacks facing the wall leaving about ⅔ of the thickness of the carpet between wall and strips.
Step 2
Like the acoustic underlayment, you’re going to place the edge of the pad against the strip and unroll it to measure the length of the room. Cut the excess material and lay it out to cover the rest of the room in the same way.
Make sure any seams are at right angles to the carpet seams. Use masking tape to secure neighboring pieces. Now, staple it against the edge of the tack strip. Finally, trim the pad against the edge of the strip with a carpet knife.
Be sure to go over and collect any refuse or excess trash material that may have been left behind to prevent bubbles or raised spots in the carpet.
Step 3
After accurately measuring the room, snap a chalk line on the back of the carpet 6-inches longer and wider than the room. With the line facing up, using a board underneath the carpet line as a hard surface, cut the carpet with a carpet knife along the line using a straight edge ruler.
Flip the carpet and center it in the room. You may want to make relief cuts in the corners to have them fit properly in the corners of the room. Cut from a couple of inches in, down to the corner.
Step 4
Anchor the long wall by pushing the carpet over the tacks with a knee kicker near a corner of the wall. Anchor and tuck the carpet with a carpet tucker. Repeat this along 3ft of the wall. Now anchor a short wall repeating the previous steps. Push, hook, and tuck along 3ft of this wall as well. Trim before tucking if necessary.
Step 5
Pad a small piece of 2×4 with some carpet scrap and place it against the molding or the wall. Using a carpet stretcher, we are now going to place it against that 2×4. This will protect your wall when you place the power-stretcher foot against it.
Running the stretcher at an angle toward the opposite corner, we set the head 6 in. from the wall. Stretch carpet by pushing the handle. Aim for about 1 ¼ in. to 1 ¾ in. over a 10ft span with each power stretch.
Hook, anchor, and tuck along 3 ft. of both corners as you did before. After power-stretching the first corner, do the second. Then stretch the opposite long wall as you did before. Finally, power-stretch the last corner and use the stretcher across the room.
Step 6
Use the knee kicker to work across the wall. Adjust the wall trimmer to trim the carpet edges at the wall at appropriate thickness. Tuck the freshly cut carpet against the wall and strips. When the carpet meets the next flooring, seal the edge with a latex seam sealer. Install a binder bar or carpet transition at the edge with a brad nailer.
With some patience and the right tools, you can achieve the look of an expert installation all your own.
4. Mass Loaded Vinyl
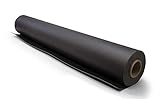
- Use for soundproofing bedrooms, floors, basements, conference rooms, studios,...
- Made with the highest quality vinyl available for superior strength, durability and...
- STC rating 26, 1/8" thick
Time to bring out the big guns. You can add another layer of protection with Mass Loaded Vinyl before installing your carpet. Mass-loaded vinyl (MLV) is a smooth, flexible, reinforced, soundproofing acoustic barrier. It is designed to reduce noise transmission through floors, walls, and ceilings by trapping sound. It can be screwed, stapled, glued, or nailed.
MLV can be used as an additional underlayment layer for your flooring with acoustic underlayment. Then you can add your carpet and padding over this. If not, then the interlocking mats.
First, measure the dimensions of the floor and cut the material to size. If you’re working in a huge room, you can lay it in sections to make the installation easier to manage. You unroll the sheet as you would the acoustic underlayment.
5. Use Soundabsorbant Glue and Adhesive
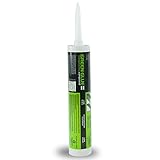
- A 29 oz Tube of Green Glue Damping Compound with Nozzle
- Coverage of 16 square feet
- Highest quality soundproofing damping compound
As we said before, you can attach certain underlayments with glues or adhesives. Further, some of these compounds are specially formulated to prevent noise transfer. You can put these compounds between the floorboard and your underlayments.
Dry the floor and make sure it’s clear of any debris. Carefully read all directions and warnings on packaging and apply as directed. Using a caulk gun, evenly distribute the glue and place your decided underlayment over the top. Finish with your chosen flooring and carpet.
Using these methods in tandem should all but eliminate the annoying noises of pets or children.
6. Rugs and Furniture

If the previous approaches sound too involved and you aren’t looking to create a sensory deprivation chamber, you can get away with just rearranging the room.
Dense rubber floor mats or foam cut into the shape of your rugs can provide grip and reduce noise in high traffic areas. Thick rugs placed over the top will feel soft underfoot and further stifle the intensity of the sound of people moving about.
Also, strategically placing furniture in the areas where sound travels or you can hear it the most will also break up and reduce noise. Moving that couch to the wall you share with a noisy neighbor just might do the trick.
Summing up Apartment Floor Soundproofing
Anyway, that about wraps up our post covering the different ways you can soundproof an apartment floor. We hope you found it helpful.
The soundproofing of your apartment floor is a big decision and it can be an expensive and time-consuming project, but it’s worth the investment for those looking to make their home more livable.