Soundproofing a room for podcasting and audio recording can be a daunting task. The sound of a podcast is usually not more important than the content but nowadays there are so many podcasts with high production value that you need a basic level of quality to compete. For this reason, it’s crucial that you take steps to make sure that your mic picks up only what you’re saying and no outside noise.
To help, in this post we’re going to cover 10 easy steps for how to soundproof a room for podcasting in order to turn your space into one that will reduce echo, eliminate unwanted background noise, and make your podcast sound great. Let’s get started.
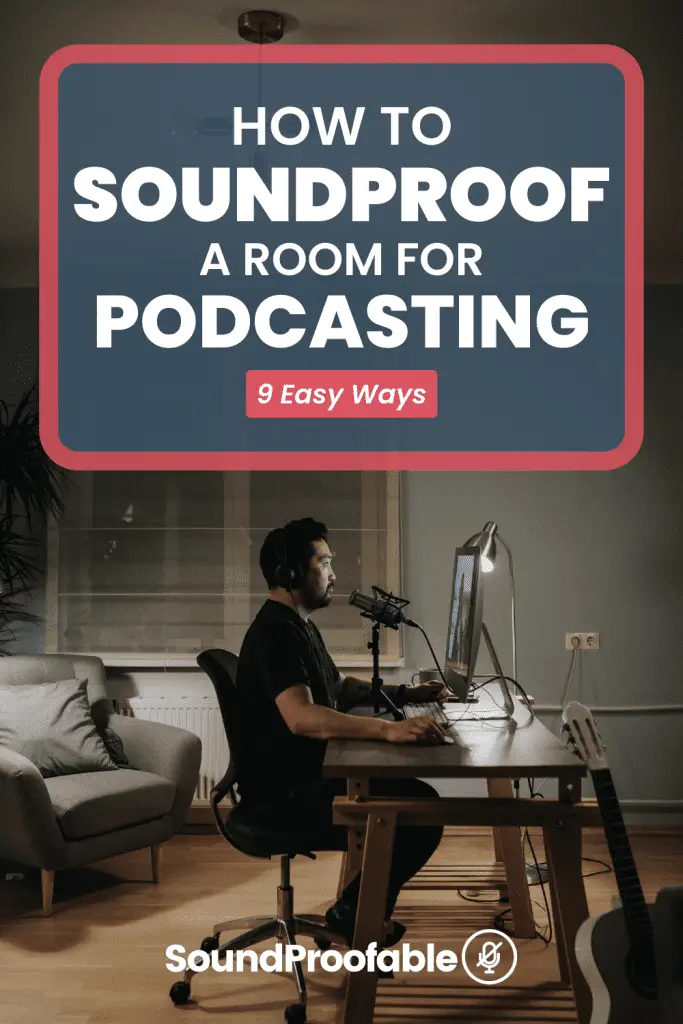
Table of Contents
1. Choose a Small, Quiet Room
The first step is to choose a good room for your podcast studio. Generally speaking, the smaller and more isolated your room is from outside noise, the better your podcast will sound.
Enclosed rooms work well because they tend to dampen outside sounds while sounding deadened themselves (that is, anything you record inside the room will come out clearly without reverberating at all).
Another benefit of choosing a smaller room is you’ll have less space to soundproof which can save you money.
Obviously, you should choose a room with as little noise as possible. Don’t record in a room with your refrigerator as these will hum, and stay clear of rooms with air vents too.
If you don’t have any suitable rooms, consider using a large cupboard under the stairs or a closet that you can sit in. While they’re not as comfortable to record in they can be good for getting a great sound on your podcast.
2. Assess and Identify the Source of Noises
Once you’ve found a good room for podcasting, the next step is to assess where all the unwanted noise is coming from. This will help you figure out how much soundproofing material you need and where you need to put it.
Sit in your room and just listen. What do you hear and more importantly where is it coming from?
You’ll probably find that some sounds are coming from inside the room, while others are outside like hearing your neighbors through the wall or airplanes flying overhead that you can hear through the window.
Listen out for as many different sounds as you can. The key is to focus on anything that’s too loud or repetitive.
3. Cover The Windows
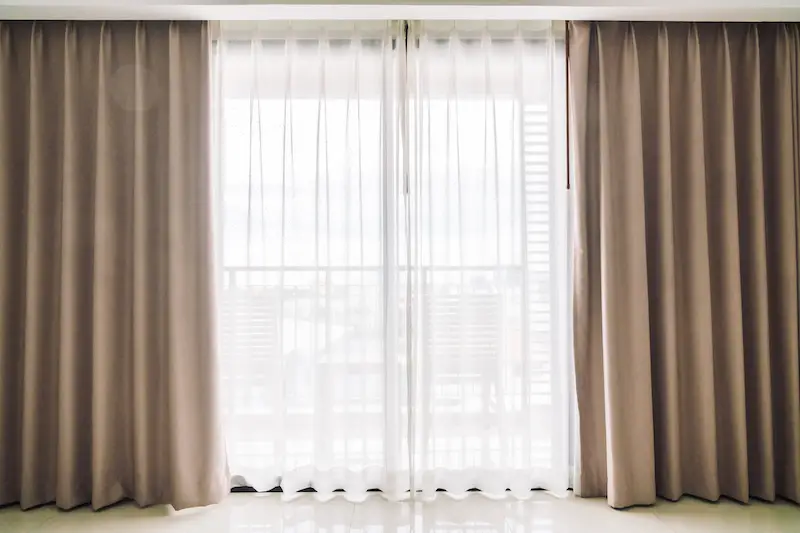
One of the main offenders of sound in rooms is the windows and so we’ll start here. Ideally, you’re recording in a room with no windows in which case you can skip this step.
But, luckily, most of the noise coming from windows is simply outside traffic and it can be quite easy to reduce with some simple soundproofing hacks.
The best way to cover your window is with thick soundproof curtains or drapes. These are usually made from dense materials that help to dampen and absorb sound.
We recommend getting these soundproof curtains from NiceTown which are inexpensive and easy to install.
If you’re on a tight budget then you can also hang blankets over the window to create as much of a barrier as you can.
For more tips and tricks check out our guide to soundproofing a window here.
4. Soundproofing the Doors
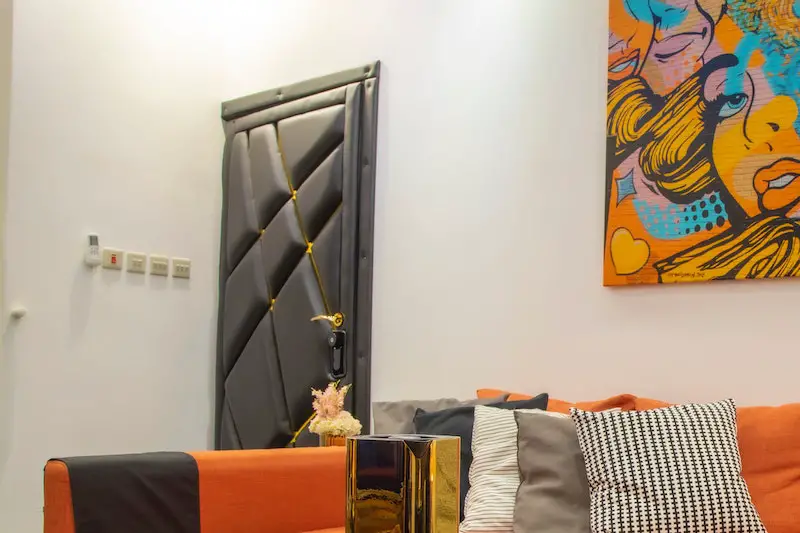
The next thing to look at is the doors as these can be a big source of noise. Soundproofing a door is simple and there are lots of easy things you can do to stop noise coming in through them.
Start by sealing as many of the gaps around the door as possible. You can use foam weatherproofing tape around the frame, a door sweep on the bottom to keep noise from coming through the gap under the door, and even attach some acoustic panels to the door too.
If you’re on a tight budget you can also just hang blankets over it or even another soundproof curtain to help keep the sound away.
You should install thick curtains or drapes on any doors that you can and consider adding more layers to close off even more sound.
For more ideas check out our post on soundproofing doors here which details exactly what you need and how to do it best.
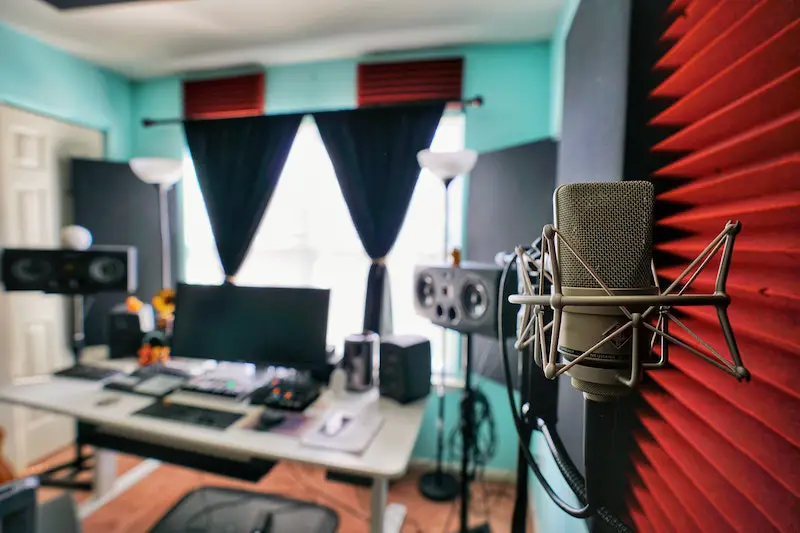
5. Soundproofing the Walls
Another big offender of noise picked up while podcasting is through the walls.
Soundproofing walls properly involves a lot of work, but thankfully there are a lot of easy ways you can do that aren’t as hard, way cheaper depending on your budget and the room itself.
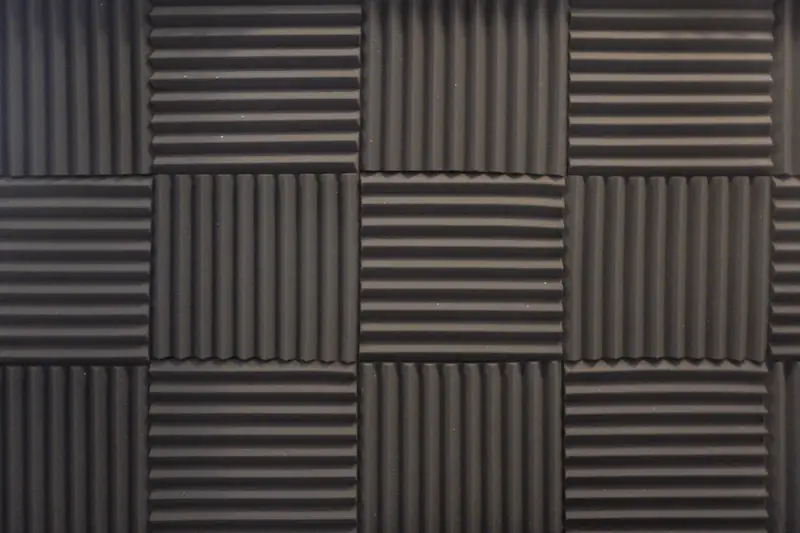
Our first recommendation is to use acoustic foam panels to cover the walls as much as possible. We like these ones here which come in big packs, are easy to put up and won’t break the bank.

- Great for spot treating sound on walls in your studio or office - For use in...
- 12 Pack Covers 12 Square Feet - Each tile is 1 square foot of 1 inch thick acoustic...
- Reduce Unwanted Noise And Echo - The panels help reduce reverb, flutter echoes,...
These foam panels help to absorb as much sound as possible so that you don’t get a really tinny, top-end sound when recording your podcast. It prevents the sound from echoing off your walls and then getting picked up again by your podcasting microphone.
If you need something a bit more temporary and without as much cost you can hang up as many soundproof blankets on the walls as you can.
This will help to absorb and dampen the sounds in your room. You can use any old moving blankets, duvets, or purpose-made soundproof blankets like these ones from Audimute.
Just remember when it comes to soundproof blankets, the thicker they are the better they’ll be.
Another great tip for setting up walls for podcasting is to use bass traps. These are designed specifically for recording studios but they actually work really well in a home podcasting set up too.
They work by absorbing unwanted low frequencies from your voice creating a more balanced and rich sound that sounds far less tinny when recorded. We recommend some simple ones like these to get started.
6. Cover the Floor and Ceilings
The next part of the room to look at is the floor. You want to get as much soft material on the floor as possible to absorb some of the sound and help deaden the waves.
Carpet, rugs, mats, and blankets are ideal for this which help to prevent any echo or high-end frequency sounds from bouncing around the room when you record your podcast.
If you’re recording your podcast at home try to choose a room with carpets in already but if not a large rug (like one of these) would be ideal and if you’re on a very tight budget look for some moving blankets will be fine too.
The same goes for the ceiling. Obviously, you can’t carpet it but you can hang a lot of heavy blankets up to help dampen the sound and make it quieter for your podcast.
If you can, we also recommend using the foam acoustic panels that you used for the walls and stick them to the ceiling to help absorb sound and create a better soundproof room for your podcasting.
7. Add Furniture to the Room
Another easy tip, especially for large spaces to help soundproof your room for podcasting is to get as much furniture in there to help absorb the sound.
Things like sofas and chairs that are upholstered with fabric make the best ones to use to help with sound absorption.
If you don’t have any upholstered furniture and you only have hard wooden furniture like tables, cover them in blankets to help absorb some of the sounds.
It’s not the ideal solution but it will help to a certain extend so remember this tip when setting up your room for podcasting at home or in your studio.
8. Invest in a Microphone Isolation Shield
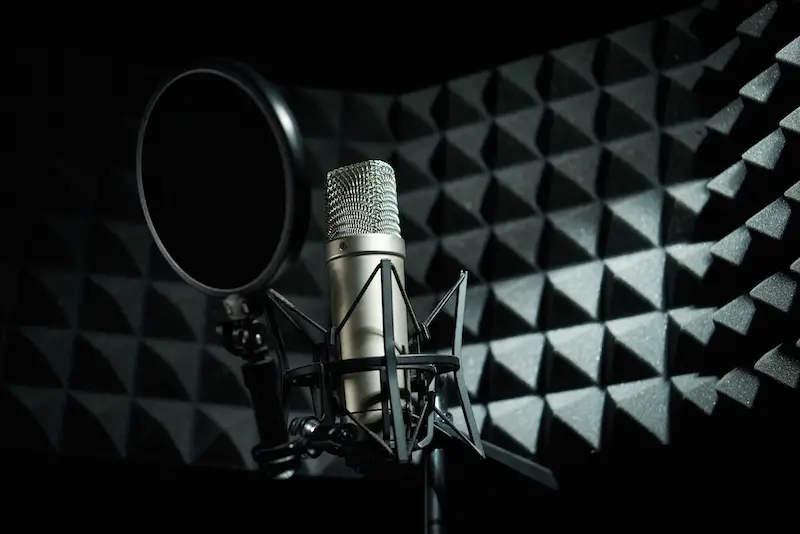
Another key bit of kit for anyone recording with a microphone is a microphone isolation shield.
These are specially designed acoustic shields that almost wrap around your microphone to help prevent and keep echo from coming reflecting back into your microphone.
We’d recommend one like this one but there are lots of good ones on the market.

- Includes all assembly and mounting hardware | Branding/Logo on Product May Differ
- Dual clamp mount attaches to mic stands or booms up to 1.25" diameter.
- Features a standard 3/8" microphone threaded mount and includes a 3/8" to 5/8" thread...
They’re pretty inexpensive, easy to set up as you can just attach them to your microphone stand, and will dramatically improve the quality of sound of your podcast.
9. Build an Isolation Booth or Box
The last recommendation we’ll make is to make (or buy) an isolation booth to get a great sound for your podcast. Essentially these are purpose-made soundproof boxes that you put your microphone and yourself in to record your podcast.
They are good as you’ll be soundproofing a lot smaller space (you won’t need to soundproof the whole room) and so can actually save money in the long run.
You can buy purpose-made ones which can cost in the thousands but there are hundreds of DIY ways to do it on the cheap.
Check out the video above for an easy option that’ll cost less than $200.
Summing up Podcast Room Soundproofing
As you can see, setting up a podcasting room at home isn’t that difficult and by following even a few of the tips covered in this post you’ll definitely improve the sound quality of your podcasts.
Just remember to use as much sound absorbing material as possible to reduce echo and improve the overall quality of your voice when you record.
Good luck and happy podcasting!